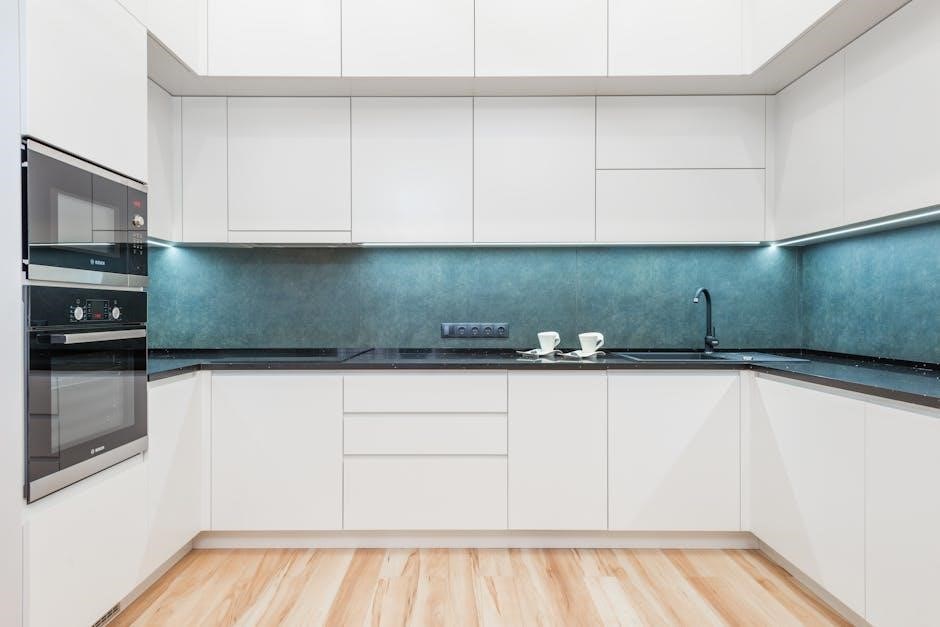
Older Jenn-Air ovens feature a self-cleaning mode that uses high heat to burn food residue. This efficient process simplifies maintenance but requires caution due to harmful fumes.
Overview of the Self-Cleaning Feature in Vintage Jenn-Air Ovens
Vintage Jenn-Air ovens equipped with self-cleaning technology utilize high temperatures to burn food residue, simplifying maintenance. This feature eliminates the need for harsh chemicals, making it eco-friendly and safer for surfaces. Older models often require manual activation, involving specific knob settings or button presses. The process generates intense heat, effectively turning residue into ash, which can then be wiped away. However, precautions are essential, as fumes released during cleaning can be harmful, especially to pets and birds. Additionally, some models may have dual oven controls, requiring users to ensure the correct oven is selected before initiating the cycle.
Understanding the Self-Cleaning Process
The self-cleaning process uses high heat to burn food residue into ash, making it easy to wipe away after cooling. This method is efficient and reduces chemical use.
How High Heat Burns Away Food Residue in Older Models
In older Jenn-Air models, the self-cleaning process utilizes high temperatures, typically exceeding 800°F, to incinerate food residue into ash. This intense heat breaks down tough grease and grime, leaving behind a manageable residue that can be easily wiped away once the oven cools. The process is both efficient and chemical-free, making it a convenient option for maintaining oven cleanliness. However, it’s crucial to ensure proper ventilation, as the high heat can release harmful fumes, especially from burnt food and oils, which can be dangerous to pets and humans if inhaled.

Step-by-Step Guide to Starting the Cleaning Cycle
Press the Clean button, select the desired cycle time, and press Start. Ensure proper ventilation and avoid disturbances during the cleaning process for optimal results.
Pressing the Clean Button and Selecting the Cycle Time
To initiate the self-cleaning cycle, locate the Clean button on your older Jenn-Air oven’s control panel. Press and hold the button until the display shows the clean option. Use the arrow keys or the dial to select the desired cleaning time, typically ranging from 2 to 4 hours, depending on soil level; Once the time is set, press the Start button to begin the cycle. Ensure the oven door is closed properly and avoid opening it during the process. Proper ventilation is crucial to prevent harmful fumes from accumulating in your kitchen.

Preparing the Oven for Self-Cleaning
Before starting the self-cleaning cycle, remove all racks and shelves. Scrape off large food debris and cover the floor with foil or a heat-resistant mat.
Removing Oven Racks and Protecting the Floor from Debris
Remove all racks and shelves before starting the self-cleaning cycle to prevent warping. Scrape off large food particles to avoid excessive smoke. Cover the oven floor with foil or a heat-resistant mat to catch debris. This step ensures easy cleanup and protects the oven floor from damage. Avoid using abrasive cleaners or liners, as they can harm the oven surfaces. Proper preparation helps the self-cleaning process work efficiently and safely.
Post-Cleaning Maintenance
After the cycle, let the oven cool. Wipe away ash with a damp cloth and dispose of debris properly for a clean finish.
Wiping Down the Oven and Disposing of Ash
After the self-cleaning cycle, allow the oven to cool completely before wiping it down. Use a damp cloth to remove ash and residue, as abrasive cleaners can damage surfaces.
For tough spots, a mild soap solution may be used, but avoid harsh chemicals. Properly dispose of ash in a sealed container to prevent dust.
Ensure all racks are removed and cleaned separately, as they may still hold debris. Regularly checking and cleaning the oven floor after each cycle helps maintain its efficiency and appearance.
Troubleshooting Common Issues
Address errors during the cleaning cycle by checking if the correct oven control is used, especially in double oven models. Ensure the cycle completes without interruption.
Addressing Errors or Malfunctions During the Cleaning Cycle
If an error occurs during the cleaning cycle, ensure the correct oven control is selected, especially in double oven models. Harmful fumes may indicate overheated residue. Ensure proper ventilation and avoid using commercial cleaners. If the cycle fails to start, check the oven controls and ensure the door is fully closed. For persistent issues, consult the user manual or contact professional support. Always prioritize safety and follow manufacturer guidelines to resolve malfunctions effectively.
Safety Precautions
Avoid using oven cleaners, as they can damage surfaces. Ensure proper ventilation to prevent harmful fumes from spreading. Keep children and pets away during the cleaning cycle.
Avoiding Oven Cleaners and Protecting Surfaces During the Process
Never use commercial oven cleaners, as they can damage the oven’s surfaces and harm its finish. Instead, rely solely on the self-cleaning feature, which uses high heat to burn away residue. Always remove racks and shelves before starting the cycle to prevent damage. Protect the floor and surrounding areas from falling debris by placing a heat-resistant mat or sheet below the oven. Keep the area well-ventilated to avoid inhaling harmful fumes. Avoid touching the oven surfaces during or after cleaning, as they will be extremely hot. Regular maintenance ensures optimal performance and safety for your Jenn-Air oven.
Additional Tips for Optimal Results
Regular light cleaning between self-cleaning cycles prevents heavy buildup. Ensure racks are clean and properly placed. A clean oven reflects heat better, enhancing cooking efficiency and results.
Regular Cleaning and Checking Oven Controls
For optimal performance, regularly inspect and clean oven controls to ensure proper function. Use a damp cloth to wipe knobs and buttons, preventing grease buildup. Check the oven’s digital display for clarity and responsiveness. Ensure all functions, like the clean button, are operating correctly. Refer to the manual for specific guidance on maintaining older models. This routine maintenance prevents malfunctions and ensures the self-cleaning feature works effectively. Always clean only the parts listed in the manual to avoid damage.
Older Jenn-Air ovens remain reliable with proper care. Regular cleaning and following instructions ensure optimal performance and safety, making self-cleaning a convenient feature for long-term use.
Final Thoughts on Using Older Jenn-Air Self-Cleaning Ovens
Older Jenn-Air self-cleaning ovens remain efficient and reliable for maintaining a clean cooking environment. By following the instructions carefully, users can enjoy the benefits of high-heat cleaning. Regular maintenance ensures longevity, while avoiding oven cleaners and harmful fumes is essential for safety. These vintage models offer a convenient way to keep your oven pristine, but always remember to ventilate the area and follow the manual’s guidelines. With proper care, older Jenn-Air ovens continue to deliver excellent performance, making them a worthwhile investment for homeowners seeking durable appliances.